Instagram
Follow on Feedspot
Follow on Bloglovin
Nicoles Nails

Wednesday 19 November 2014

Top 5 Christmas Gift Ideas

Hey everyone! Now as much as some of you may want to pretend..Christmas is coming! With only 5 weeks to go its time for us all to get started with the christmas shopping. So today I've got my top 5 nail related christmas gifts for you all to have a nose at! 

5. Wilko Nail Jewels: Now I didn't even realise until recently that Wilkinson's did nail stuff like this. But this little Nail Jewel pack will make a great stocking filler at just £2! 


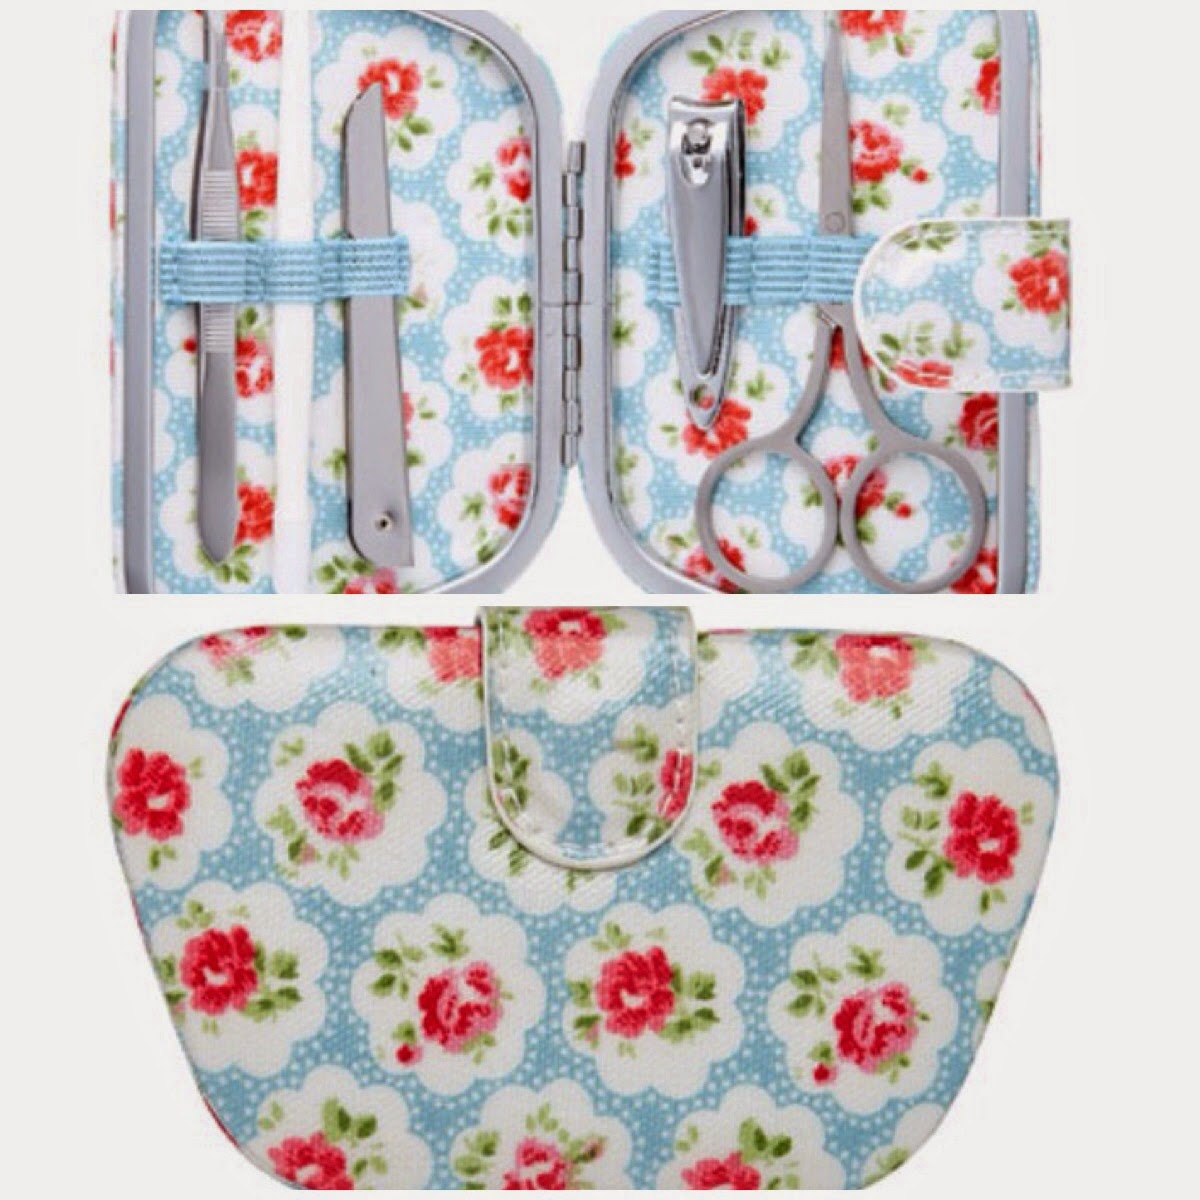
4. Cath Kidston Provence Rose Manicure Set: Now you all know by now I'm a sucker for Cath Kidston so obviously my list had to include something from them! Now this is £14 but it's gorgeous and I'm pretty sure any girl would love to find this in their stocking! 


3. Models Own Sticky Finger Set: this set is a pretty awesome and simple way to create some great nail art with their polishes and stickers, plus it's a steal at the mo from Superdrug as its reduced to £6!


2. Nails Inc ultimate accessory gift set: now this is another bargain from Boots this time. This gift set includes 5 mini and 2 full sized polished, as well as a stylish clutch to store them in. According to the Boots website this is worth £42 and is down to better than half price at £20! Bargain! Plus you get 80 boots points! 

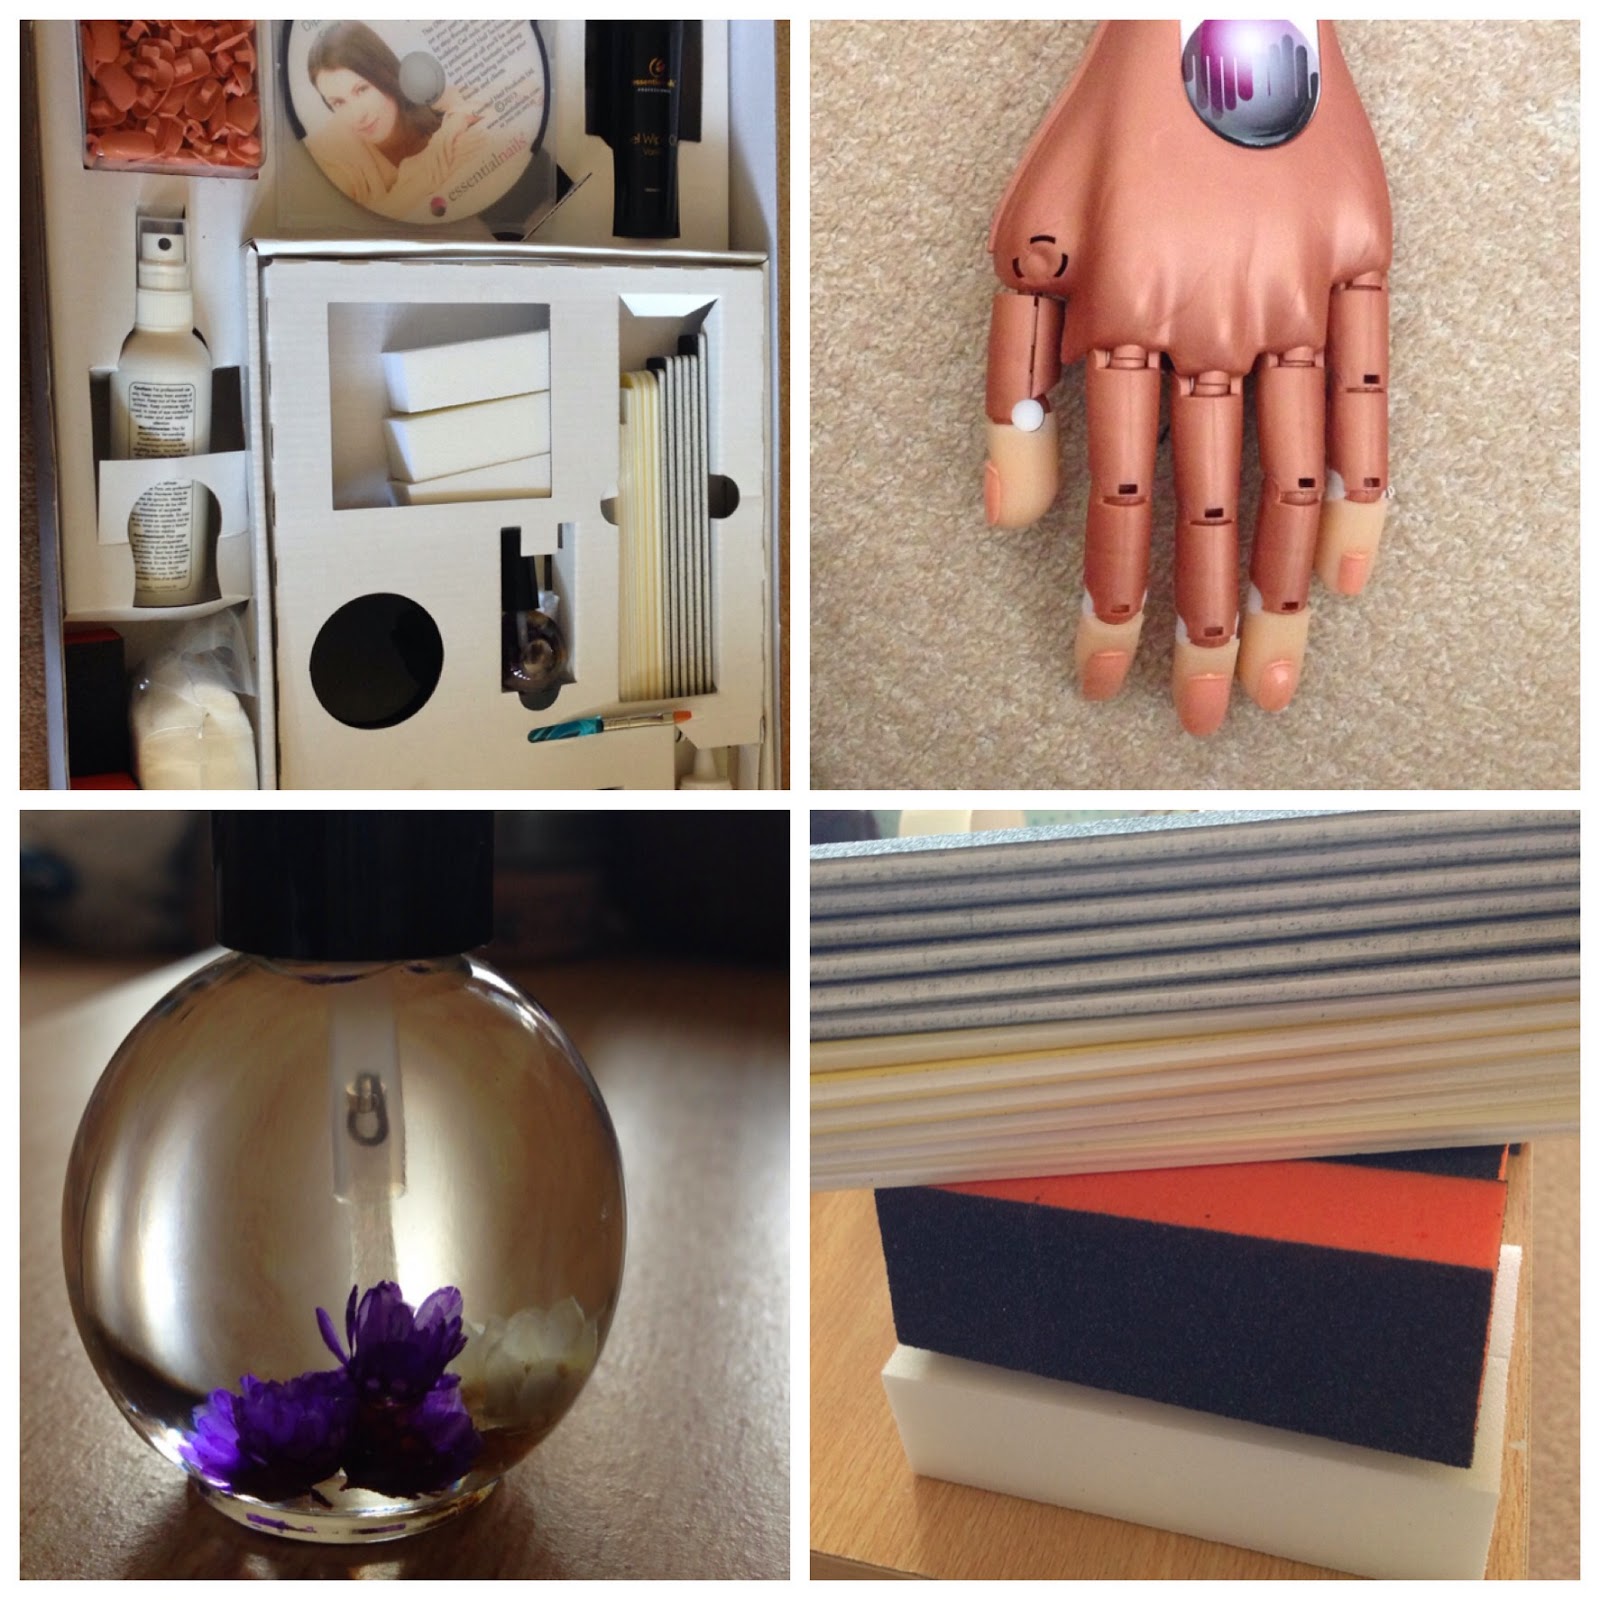
1. Rio Ultimate Nail Professional Nail Artist Collection: this is my number 1 Christmas gift, the ultimate kit for anyone wanting an all in one kit. Plus at only 
£29.99 it's a bargain from Superdrug. This set includes different tools to help you create your own nail art at home and looks great! 


So I hope you find my Christmas list helpful! Happy shopping!
Nicole x 

@nicolesnailsuk


The views and opinions in this post are my own and no one else's included the companies mentioned. I do not neccessarily own the products featured, but feel they would be worth a look at. 

Thursday 13 November 2014

Tutorial Time!

Hi everyone! It's that time again! It's Tutorial time, for the first time in ages! I'm really pleased with this design. I found something very similar on Pinterest, which helped with my idea, but unfortunately there was no link to the original so I don't know who you are! But thanks for the great idea! :) 


First of all I started with BarryM's Cardamon Gelly polish (bought for me by my lovely hubby!) this is a great colour and really unusual. First paint your base layer in your chosen colour on your thumb, index finger and little finger. Then choose a lighter colour (I've used white) for your middle and ring finger. 


Once this layer is dry, take your darker colour again and paint half of your middle finger, don't worry too much about it being perfect as we'll be covering most of it up in a minute.  The next stage means making sure your nails are really dry as you're going to add a rose design. This is a little more intricate than the usual blob with a few lines. I've used BarryM's pink nail art pen and built up the rose with tiny dots and lines to create the illusion of petals. 


Do two or three small roses on the lighter half of your middle finger, then do one large rose anywhere on your ring finger. Next add some petals with a green polish. I've used the Cardamon again so it matches the other nails.


Lastly we're going to add some diamonds down the middle finger because we love a bit of sparkle! All you need to do is paint on a layer of top coat then use a cuticle stick to gently place the diamonds along the line between the two colours. Then just seal them all with top coat and you are good to go! 

Nicole x

@nicolesnailsuk

Friday 7 November 2014

Road Trip Selfies & Floral Designs

Hi everyone, today I've got a favourite design of mine and two for the price of one! I love adding roses and flowers to my nails, and it's always my go to design, plus it's so easy to do! 


So I started with a traditional Gel French manicure, then added the little roses on top. I had only planned to do an accent nail on each hand but got a bit carried away! I then added a thin coat of gel on top to protect it. 


The next day we headed out to meet our new niece and while taking an early morning road trip selfie I realised my nails matched my coffee mug! Slightly obsessed with any sort of floral/Cath Kidston style design! 


My second design is another great way to use the floral design along with the French manicure. I've used BarryM's Nude polish for the base and then added the white tip. I love just keeping the roses within the tip, and I've also added a little pink glitter along the smile line for a bit of sparkle! 


So I hope you like today's designs and feel inspired to do your own! 

Nicole x 

@nicolesnailsuk

Wednesday 5 November 2014

Better late than never: Glitterati Review

Hey everyone, welcome to today's post. Today I've got a little review for you of my new favourite polishes. Now this review is a little behind as the BarryM range of Glitterati came out in September, but as you all know I've been a bit behind with the times recently! 

I originally purchased 'Fashion Icon' which is the lovely glittery purple, and because I loved it so much I treated myself to 'Catwalk Queen', which is a tortoise glitter. 


The great thing about these glitters is the base colour isn't clear like most others, but has a decent colour to it. This means there's no need to add a base colour to go under the glitter. It's also super glittery! It's so hard to capture how much it sparkles, so you'll have to trust me because it's a lot! 


I've had soo many compliments at work from the customers about these polishes, especially the purple one so they have definitely been a great buy and would highly recommend! I've used about four coats to get the colour nice and bright, plus I've added gel on top to protect it. But the polishes also work with less coats for a more subtle, but still pretty look :) 

So I hope you like today's review, see you soon for more nail blogging! 

Nicole x 

@nicolesnailsuk 

Friday 31 October 2014

Gel sculpting

Hi everyone! Today I've got something a bit different for you to have a look at. Those of you that read my last post will know I'm doing a UV Gel Nail diploma at the moment and have been practicing on my own nails.

One of my favourite things to do with gel is sculpting the tips (my course just teaches me to apply tips, so this is self taught!). Sculpting is creating an extension to the nail, without actually gluing on a fake tip, but by using the gel to form the shape and length you want.


To sculpt you use a sticker as your guide, and once it's set, you just peel the sticker off and your sculpted gel is left behind. 


In the pictures (excuse my nasty nails I'd just removed my previous set!) I've created a traditional French manicure design, by adding white gel onto the tips once they were sculpted. Lastly I added a bow as an accent on each ring finger to make the normal French mani a bit different. 


I hope you like, return soon for more of my gel designs and practicing! 

Nicole x 

@nicolesnailsuk 

Wednesday 29 October 2014

Back to normality

Ok, so it's been a long time since I posted last and I'm really sorry to you all for that! A lot has happened since June (yep, June!) and now things have settled down I'm hoping to get back to normality and back into blogging. 

I might as well be honest with you all about where I've been...back in May me and my husband found out we we're pregnant. I started to blog less and less due to my 'morning' sickness being in the evening. But unfortunately it wasn't to be and we lost our little boy at nearly 17 weeks, in August. Obviously it's taken a while for things to get back to normal and we are finally getting there.

Now in aid of a fresh start and all that, I've enrolled myself on a UV Gel nail and maintainence diploma, which I'm working through from home. As much as I'm loving this it does present a problem when it comes to my blog...I used to change my nail design near enough everyday to create tutorials etc for you to read, but now I have to make sure I get in as much practice as possible on real nails so I have to do my own! 

                              The day my diploma equipment arrived

This all means a fresh start for the blog as well as myself. Rather than just sticking to tutorials and my own designs there will be a range if different posts between my own nail designs, which I now tend to change every 1-2 weeks.


            Progress: On the right,one of my first attempts at applying & blending
                          On the left,after lots of practice it's looking better :)


So I hope you will return to my new and improved blog in the future. Watch this space for more posts! 

Nicole x 

@nicolesnailsuk 


Thursday 29 May 2014

The Chevron Mani

Hi everyone, welcome to this evenings post :) today I've got a chevron design to show you, with my favourite polish at the mo, BarryM's 'Green Berry'. 


I love doing a chevron mani, but they are soo fiddly and time consuming! You can see my tutorial here. The tutorial is a slightly simpler version as the zig zags aren't as small. The smaller the little triangles you cut out are, the more zig zags you get, but the harder it is! 


I love how you can create this look with any combination of colours, and I really love using such eye catching colours like in this version. I think the contrast between the black, white and turquoise works really well, and is really effective! 


So I hope you like my chevron design, see you soon for more manis! 

Nicole x 

Sunday 25 May 2014

The Naked Mani (well, almost!)

Hey everyone, welcome to today's post. Today I've got my nearly naked mani to show you. Now I always, without fail, have nail polish on. So having just nude polish was even weird for me. And because I can't just go with something simple, I had to add an accent nail as usual. 


I used BarryM's 'nude' for the base colour, which is my favourite nude polish. It goes on lovely and smooth, dries quickly and has a gorgeous shine to it. I then used some nail glue to add a small pink bow onto my ring finger. This created a really cute, simple mani that I was really pleased with. 


Now my new obsession is 'upcycling' manis. After a couple of days I get bored of the mani, but don't neccessarily want to change it, or don't have much time. So I change it in some sort of way. 


With this mani after a couple of days I wanted something a bit different but wanted to keep the bow so I added a white tip to create a French manicure look. Then the next day I wanted another change, so I used BarryM's Superdrug birthday addition to cover the white tips, creating a pink French mani. 


This created a completely different look, which I still loved. I hope you like today's naked and upcycled mani. Come back soon to see more designs.

Nicole x 


Monday 19 May 2014

Posh Pink Post!

Evening everyone! Welcome to today's 'posh pink!' post :) for this mani I've used my favourite polish at tho mo... BarryM's 'shocking pink' which is a lovely bright summery polish. I've also used my new gems, which have a slight rainbow effect to them (not that you can see it on the stupid camera).


Now I started this mani with a base coat of BarryM's 'nude' so the piece of nail showing at the base of my nail still looked nice. I then sectioned off that section and applied the pink. (tutorial for this type of mani coming soon!) 


Next I added the gems around the nude section, using top coat as glue. I also added a larger gem in the middle to create a slight pattern amongst the gems. 


So I hope you like this mani. I loved having it on and spent the whole time trying to show it off haha! 

Nicole x 

Friday 16 May 2014

Wildlife Mani

Hey everyone! Today I've got something a bit different for you to have a look at. My mani today I treated more like doing a painting of piece of artwork, rather than nail art. You'll also have to ignore the unfinished look of the mani in the pictures! I took them before completely tidying the edges and then completely forgot to retake them before I removed the design! Silly me! Anyway...

I started off with BarryM's 'Pearl' from their Silk range for the base colour. You can see some swatches from the Silk range here. I then used actual Acrylic paints for the designs on each finger.


Acrylics work so much better than normal nail polish for these sort of designs because they go onto the nail so much better and thicker than a polish, so there's no need to go over a design again and again to make it darker. Acrylics also allow you to blend colours and make new colours to suit your design. Also if you make a mistake you can correct it with water, but nail polish remover also works when taking the whole design off. 


I've gone with a wildlife type theme for this mani and decided to put something different on each finger. My favourite has to be how my thumb nail turned out though, will the small butterfly and flower :)


So I hope you like today's design, I really enjoyed doing something a bit different for you to see and I loved working with the Acrylic paints for a change!

Nicole x 


Tuesday 13 May 2014

Tutorial Time!

Hi everyone, today I've got a lovely little tutorial for you to try at home. I've used BarryM polishes for this (surprise, surprise!) and my BarryM black nail art pen. 


Now you can do this in whatever colours you want, but I find the black and white works really well. First paint your nails black, and wait until the polish is completely dry. 

Next you'll need tape to section off your nail. Put a piece of tape down each edge of your nail, leaving the middle section. Now paint the middle stripes with white polish, and pull the tape off your nail while the white us still wet. 

This will leave you with a two-tone sectioned effect on your nail. Now comes more waiting. You'll need to wait as long as you can for the white to dry. If it's still tacky then you won't be able to do the next stage. 


Take your black nail art pen and fill in your white section with roses. To create the roses build up small lines for the petals like in the pictures. And that's it! 


This mani is so simple, but so effective and I was really pleased about how it looks. Just make sure the roses are really dry before adding the top coat to avoid them streaking. 

Nicole x 

Sunday 11 May 2014

The Cosmo blog awards

Hey everyone just a quick post to ask for your support at the Cosmo blog awards. The awards is a great place for us bloggers to get recognition for our blogs, and help get our names out there! Thank you all for your support! 

You can vote here

Nicole x 

Please nominate me! 
www.nicolesnailsuk.blogspot.co.uk


  'Best New Beauty Blog'


Seeing Stars: My Quick Sunday Mani

Hey everyone, happy Sunday! Now I know I don't usually post at the weekend but today I've just got a small little post for you to have a read of. 


My last post used BarryM's 'Green Berry' with a quilted effect. I love this colour so much I decided to do another mani with it, and I also wanted to use my BarryM pink nail art pen as I don't get to use it much. 


So I literally just doodled to be honest. I like to have something different on each nail so I went with a star theme and also added stripes and polkadots, because you can never go wrong with those in a mani! 


So I hope you like my Sunday mani. See you all next week where I've got some awesome manis to show you.

Nicole x 

@nicolesnailsuk

Friday 9 May 2014

Tutorial time!

Hi everyone. Today I've got a little tutorial time for you to learn. Now those of you that follow me on twitter will know I had a fairly unsuccessful evening of nail art last night, which was very frustrating! 

Anyway, one of the manis I tried was this one, which came out the best. Quilted nails is something I've attempted lots of times, trying lots of different methods but so far I hadn't found one that I could make work, until now :)

To start off with, choose your base colour. I've gone with a new purchase of mine, BarryM's 'Green Berry'. This colour is a gorgeous bright turquoise, and it's from their Gelly range so has a lovely shine to it. 

To start your mani put two very thin layers of your chosen colour on your nails. Then wait as long as you can until your nails are dry. 


For the quilting, I've chosen to just do my accent ring finger. I've used very thin nail tape for this. You could cut normal or masking tape into very thin stripes, but it will be soo time consuming, it's worth spending a couple of pound on ebay for nail tape! 

Stick the tape onto your nail in a criss-cross pattern, making sure all of its stuck down firmly. Then use the same polish again to paint over the top of the tape.

You then need to pull the tape off, while the paint is still wet. It's also a good idea to keep in mind the order you put the tape on so you can pull them off in the right order (backwards). 


And that's it! It's not as tidy as I would like, but I think that may be because I didn't pull the tape off quick enough. But at least I've finally found a way to create quilting that actually works! 

Nicole x 

Wednesday 7 May 2014

Purple Bows

Hi everyone, welcome to today's post. Today I've got a Rimmel swatch from their new Rita Ora range. The dark purple colour is called 'midnight rendezvous' (loving the name!) and it's a gorgeous really dark purple. 

The polish goes on lovely and smooth, and of course dries super quick as it's one of their '60 seconds' range. I've only used 2 coats for today's mani. 

I wanted an accent nail as usual, so sticking with Rimmel I used their purple Space Dust polish 'moon walking' which is one of my favourite textured glitters. You can see my swatches of this polish here

Now those of you that follow my Instagram will know I received some nail mail last week in the shape of some gorgeous little bows. So using some nail glue I added them onto my accent nail for this mani. 


With this post you're getting two manis for the price of one when after a couple of days I decided to try the mani with a lighter purple (partly for the blogs benefit and partly because I glued the bow on so well I couldn't get it off! Haha!). I used BarryM's Gelly polish 'Prickly Pear' for this, and found that the mani worked nicely with the lighter polish, but I think it was definitely more effective with the darker colour. 


So I hope you like today's mani, let me know which of the two you prefer. 

See you soon for more designs. Also I would be really grateful to any of you if you wanted to nominate my blog for the Cosmo blog awards for best newcomer/best new blog. Thanks! :) vote here!

Nicole x
@nicolesnailsuk